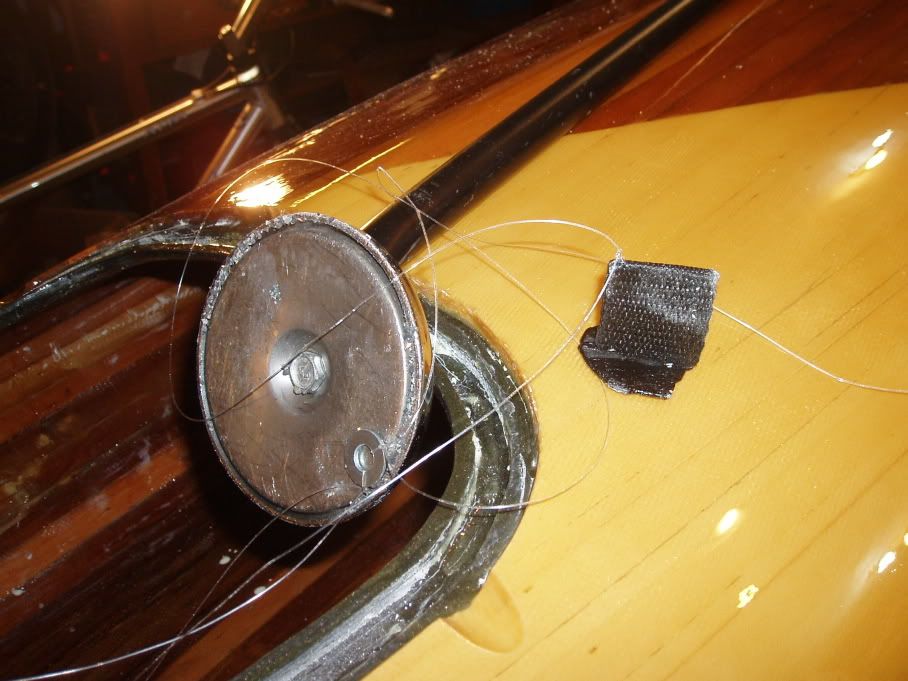
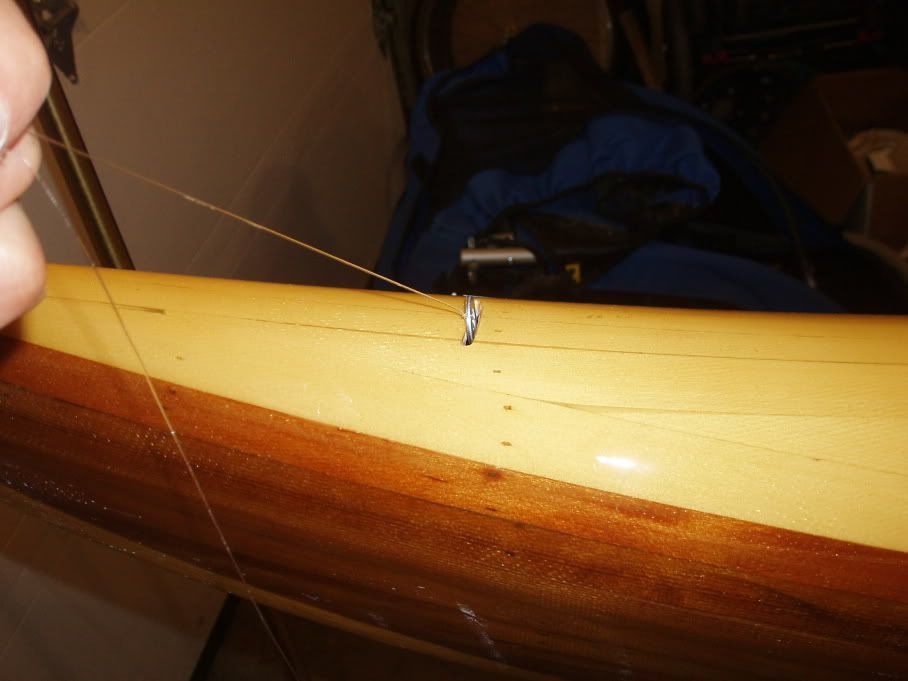
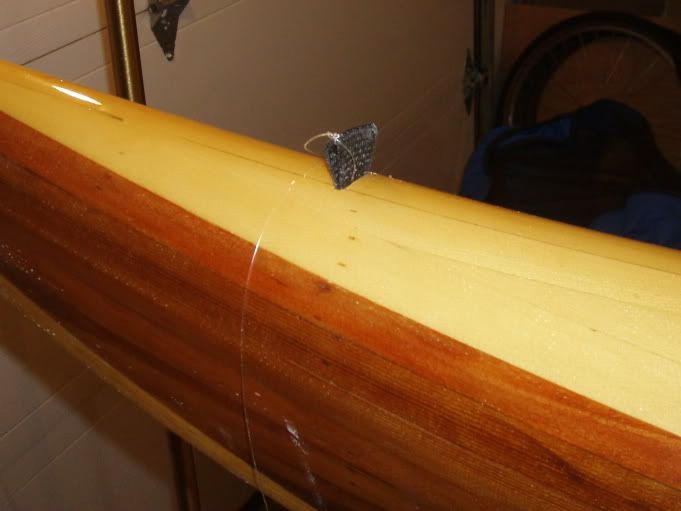
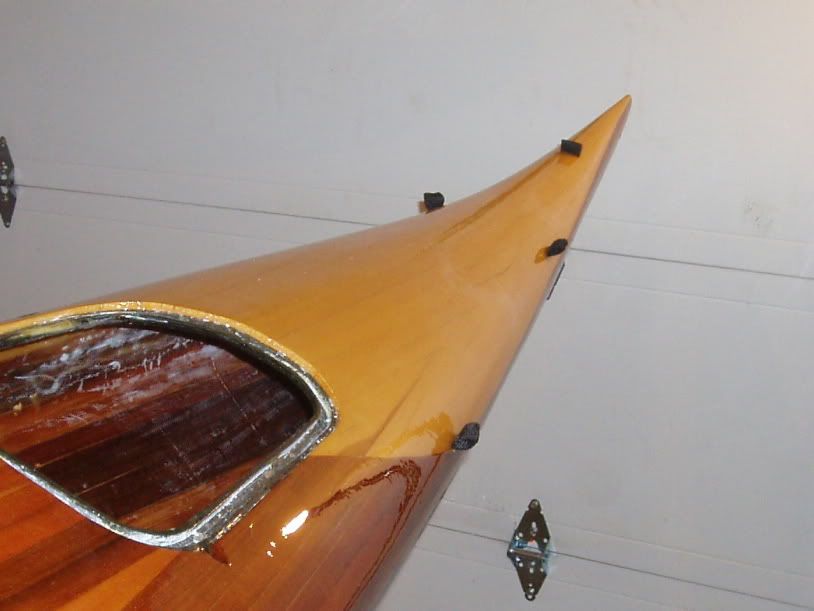
I installed the soft padyeyes this weekend without incident. The padeyes are made of a loop of weebing, with the ends melted to form a flat base. The webbing loops were then inserted through tight slots cut into the deck, allowing a place for the deck lines & bungee cords to be anchored. A couple of months ago at the
boat building workshop I organised, Andy asked how I was going to manage to install the padeyes at bow & stern extremities. He seemed bemused when I told him I had some ideas and said to let him know how it went. As it turned out, it went very well. My method involved a small washer, some fishing line, a needle, and a magnet. I tied a length of fishing line and dropped it through the slot cut into the deck of the kayak near the tip of the bow. I then used the magnet on a pole to retrieve the washer and bring it to the hatch opening (I could have tipped the boat up to allow the washer to slide down, but the magnet proved handy). I tied a second length of fishing line to the washer, and used a needle to stitch the fishing line through the corner of the padeye. I then coated the base of the padeye with silicone in order to seal the hole once the padeye is in place to prevent water from leaking into the hatches. The fishing line, washer, and padeye were then pulled through the slot until the corner of the padeye could be gripped with a pliers and pulled into place. The whole process was very easy.


14/05/07 - Update: We noticed this weekend that a robin had incorporated my padeye installation system into it's nest. The length of fishing line & washer must have gotten caught on our shoes and dragged out into the yard. While sitting on our deck on Sunday we noticed that there was a length of fishing line hanging from a newly built robin's nest above our heads, complete with washer. I guess it has offically been recycled.


Không có nhận xét nào:
Đăng nhận xét