Hiển thị các bài đăng có nhãn Finishing. Hiển thị tất cả bài đăng

Thứ Hai, 21 tháng 4, 2008

Yellow!

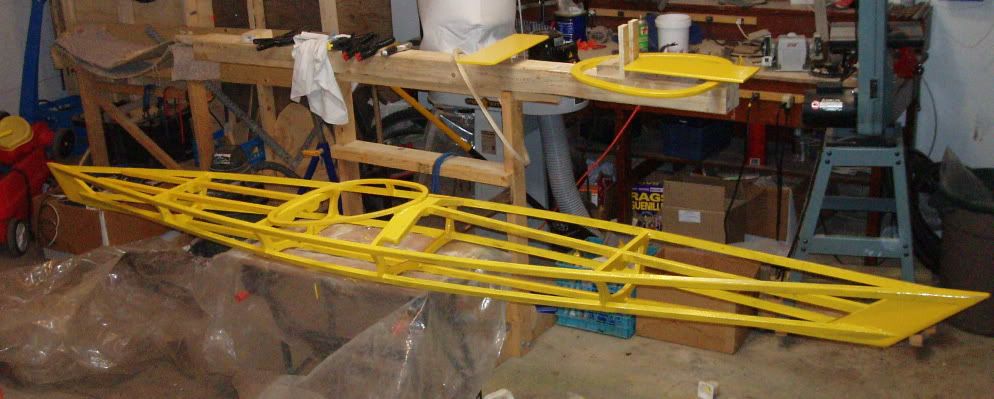
I painted the frame of the kayak yesterday and today with Tremclad paint. I used the stuff because it stands up well to moisture and didn't require any priming, plus it's glossy. However, it really stinks! It's an oil-based paint in a strong-smelling Varsol-type solvent. My timing on this was really poor as we've just been hit with snow storms and a cold spell (my bike ride to work this morning was miserable!). Not only do I need to run my heater more now to keep the garage a decent temperature, but I can't even open up the doors to air things out properly. If I had realised how much this paint stinks, I probably would have just given the frame a coat of varnish using the good stuff (high solids, less solvent) left over from the guillemot and only painted the coaming. However, once I started, I was pretty much committed to going with the yellow paint.

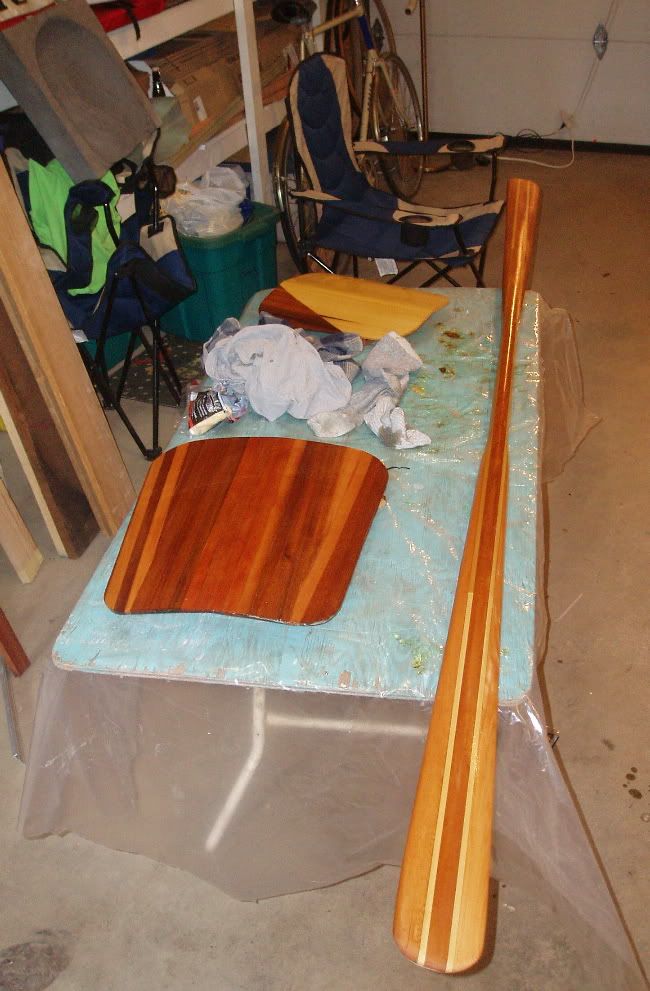
Below is one of the floor boards from the cockpit, supported by 4 finishing nails through a scrap of wood. This allows me to get a coat of paint onto each side of the piece and the nails leave only small marks in the paint (and they'll be underneath anyway).
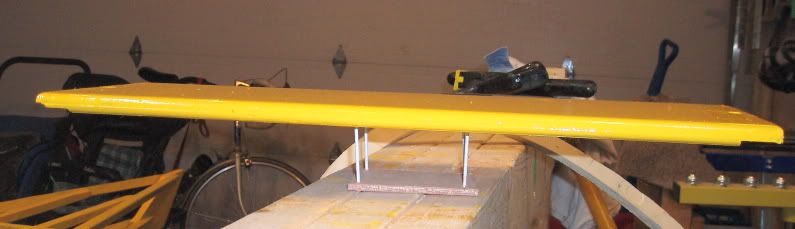
Tomorrow night I think I'll give the frame a final coat of paint in the areas that are visible, or could use the additional protection (the plywood edges). Then maybe, just maybe, I'll be ready to start skinning on Wednesday.
Thứ Bảy, 28 tháng 4, 2007

The Ultimate Radiant Heater

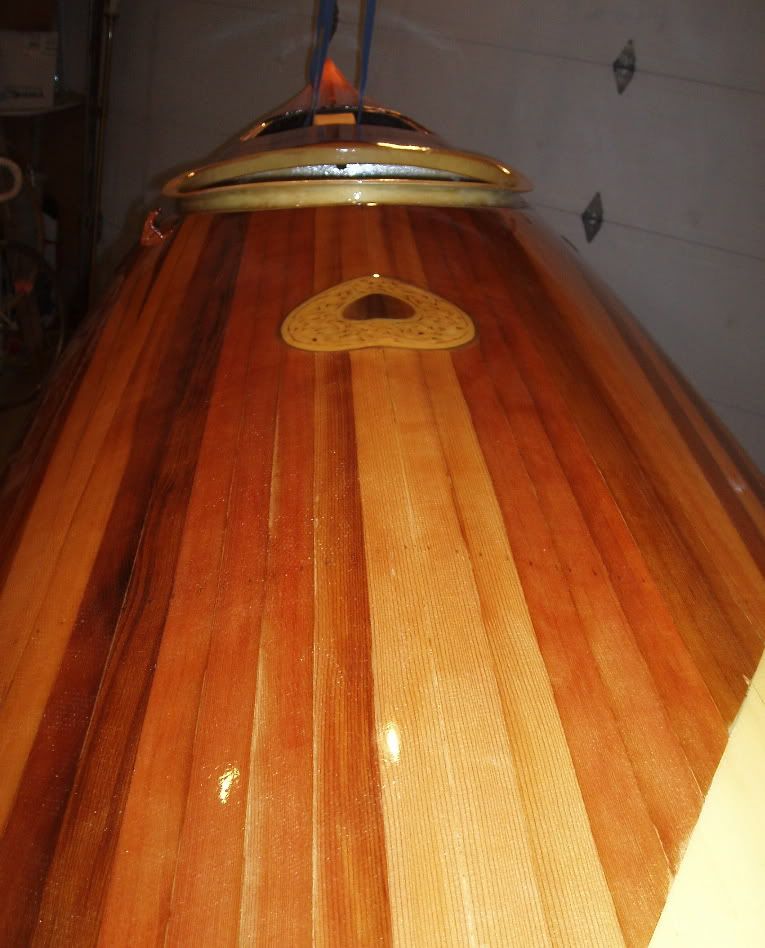
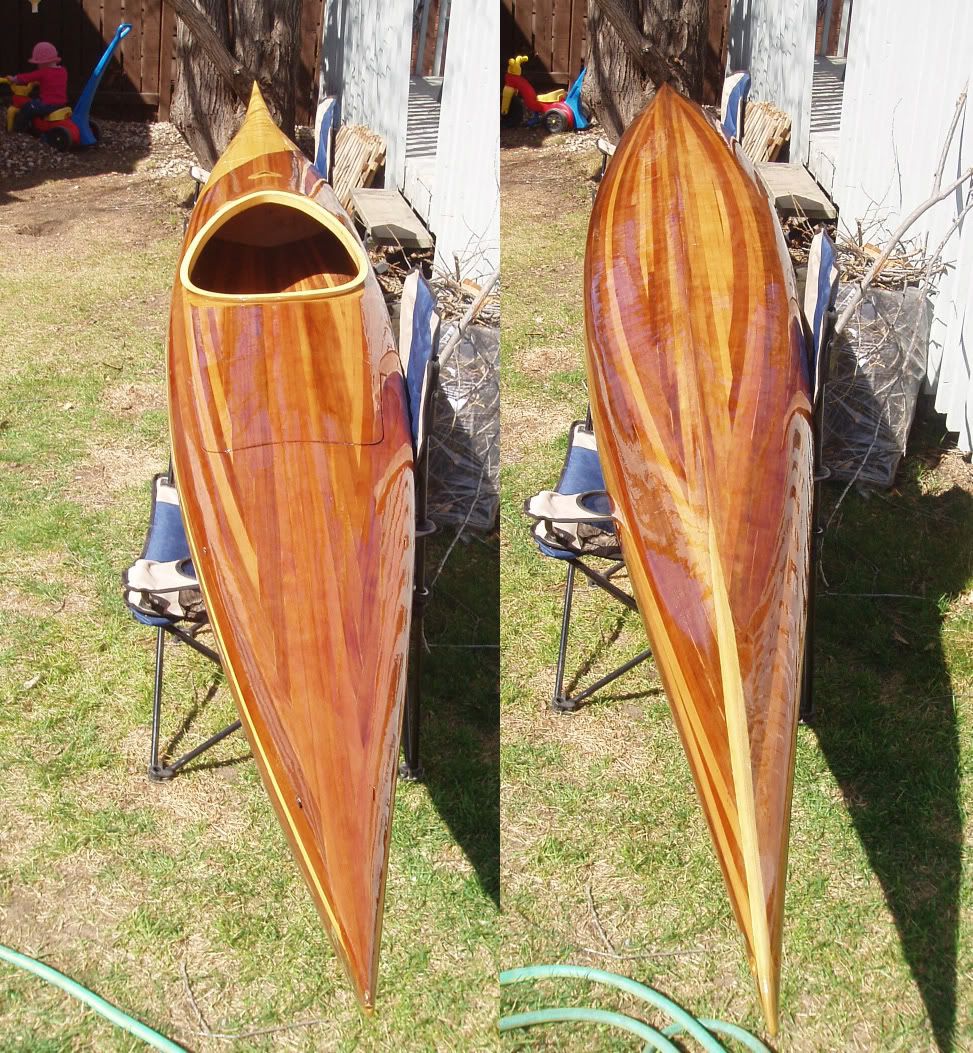
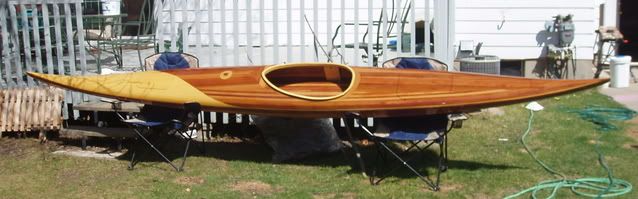
It was a beautiful sunny day today. I took the kayak outside and set it up in the sun so that the varnish could cure in the warmth of the sunlight after last night's final coat on the hull. Since I could finally take a couple of pictures in natural light, I did.


One more coat of varnish on the deck and I think that's it for varnishing.

Chủ Nhật, 22 tháng 4, 2007

Coat 2.5

The 3rd coat was applied with the kayak on the sawhorses. I masked off the sheer line and varnished the deck. Then, after allowing the varnish to harden for a few hours, I flipped it over and did the same on the hull. In both cases the masking tape was removed within a few minutes of applying the varnish to each section. That way, the wet varnish could flow beyond the masked line without creating a dried varnish line. I called this post "Coat 2.5" because although I had 3 coats on the deck & 2 coats on the hull, I think it was really more like 1 1/2 on the hull because working on the underside I think I missed a few spots. I guess maybe I should have called it Coat 2.25 then.

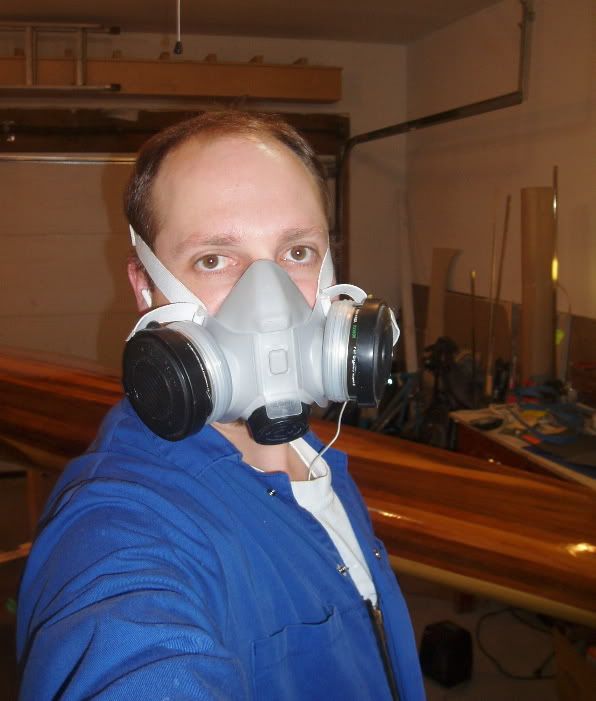
A self portrait:

Thứ Bảy, 21 tháng 4, 2007

2nd Coat

Because I applied the varnish on too thick and had some sags and runs, I had to let the varnish dry longer than I hoped, even with the garage quite warm at about 25C. The problem is that the things I needed to sand off, where the varnish was thickest, were still gummy and would not sand well until late this afternoon. Around 5pm, after 18 hours or so of drying, I wet-sanded the whole kayak with 120 grit wet-dry sandpaper. I also gave the whole thing a going over with a green scotch brite sanding pad and plenty of water. I then washed off all of the sanding residue with clean water, dried it off and left it over supper for the residual water to dry.

Refuelled with a BBQ'd burger & my homemade "Raven Ale," I began again the varnishing process. This time around I paid better heed to the instructions of Martin Step. While I cleaned up after supper, I filled the sink with hot tap water and let my container of varnish sit in there to warm up. With warmed varnish in hand, I headed back to the garage and began applying the second coat. Starting on the right side of the stern, I applied a brush-load of varnish in a horizontal stroke about a foot long. I spread this from deck peak to sheer with vertical brush strokes across the one foot section, then smoothed this out with gentle horizontal brush strokes. I then moved to the hull and did the same thing in a one foot section, then moved to the other side & repeated the process. I ensured that my brush strokes overlapped each section in order to blend the edges between sections. I used the station locations (conveniently indicated by the staple holes) to ensure that I did only 1 foot at a time and to keep track of where I was when moving side to side. I worked quickly and proceeded the length of the kayak in under an hour and a half. Another difference from last night is that I wore a mask with a carbon filter so I did not feel quite so overwhelmed by the fumes, though my eyes burned a bit by the end. Once complete, I left the garage and will not go back to avoid disturbing any dust until at least a couple of hours have passed as advised by Martin Step. Also, I went back to the house by an indirect route to minimize the amount of fumes that enter the house (which got to be quite a bit this morning when the door was being opened repeatedly).

The garage will be kept warmer overnight tonight, and hopefully there are fewer runs and sags, so I am hoping that I can sand then add a third coat in the morning. In the morning I should probably take the kayak down and flip it over on the cradles in order to see how good of a job I'm doing on the bottom. If it seems to be coming out OK, I'll hang it back up and do the whole boat again with it suspended from the ceiling like the last two coats. I suspect that this hanging method is more commonly used for spraying varnish rather than brushing.

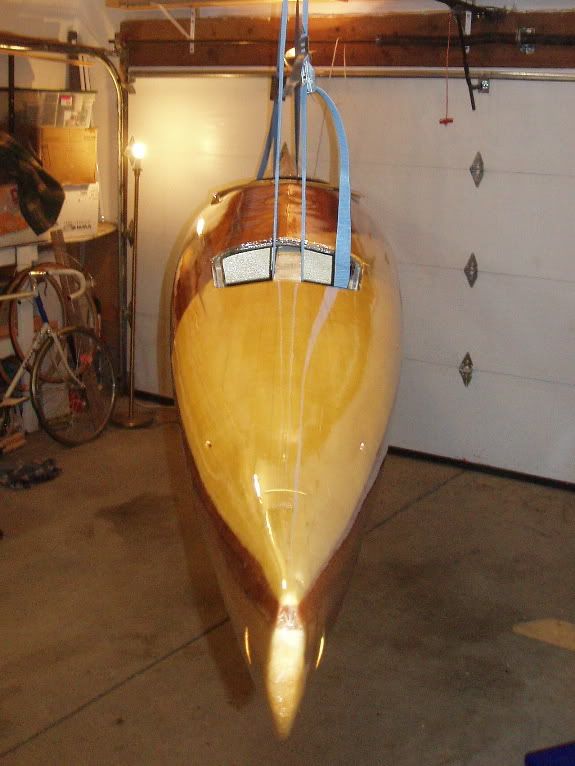
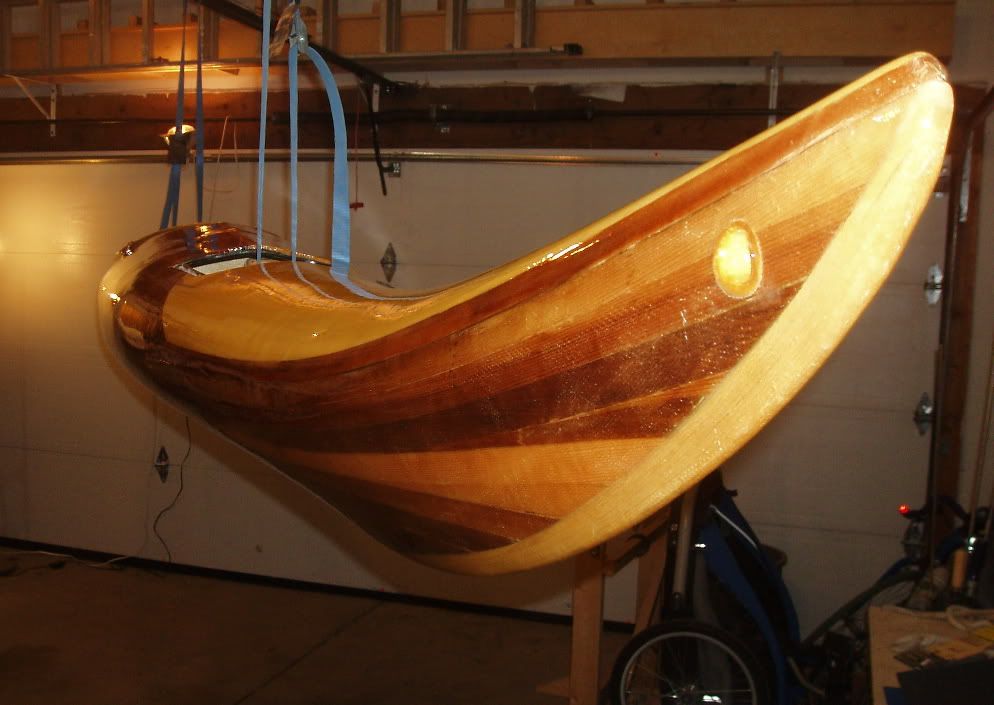
From the bow:

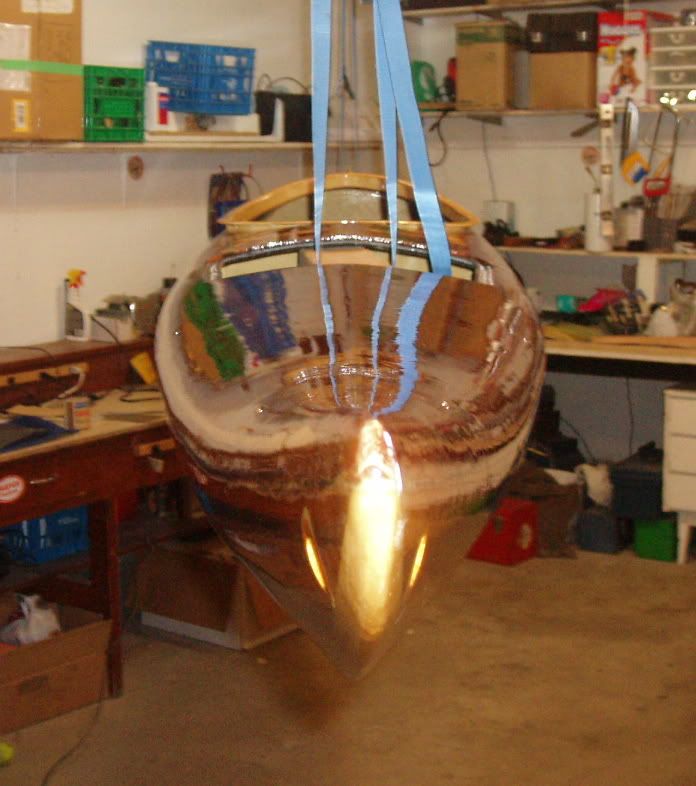
From the bow at the waterline:

From the stern:
A Coat of Varnish

Last weekend with Rob's help I got everything ready for varnishing. The kayak was wet sanded & washed with water with a bit of soap, then washed with clean water & dried. The garage was cleaned up thoroughly: everything was put away & tidied up, the floor was swept (using sweeping compound), the dust blown out of every nook and off every shelf (several times). Later, after the dust settled, the garage was swept again.

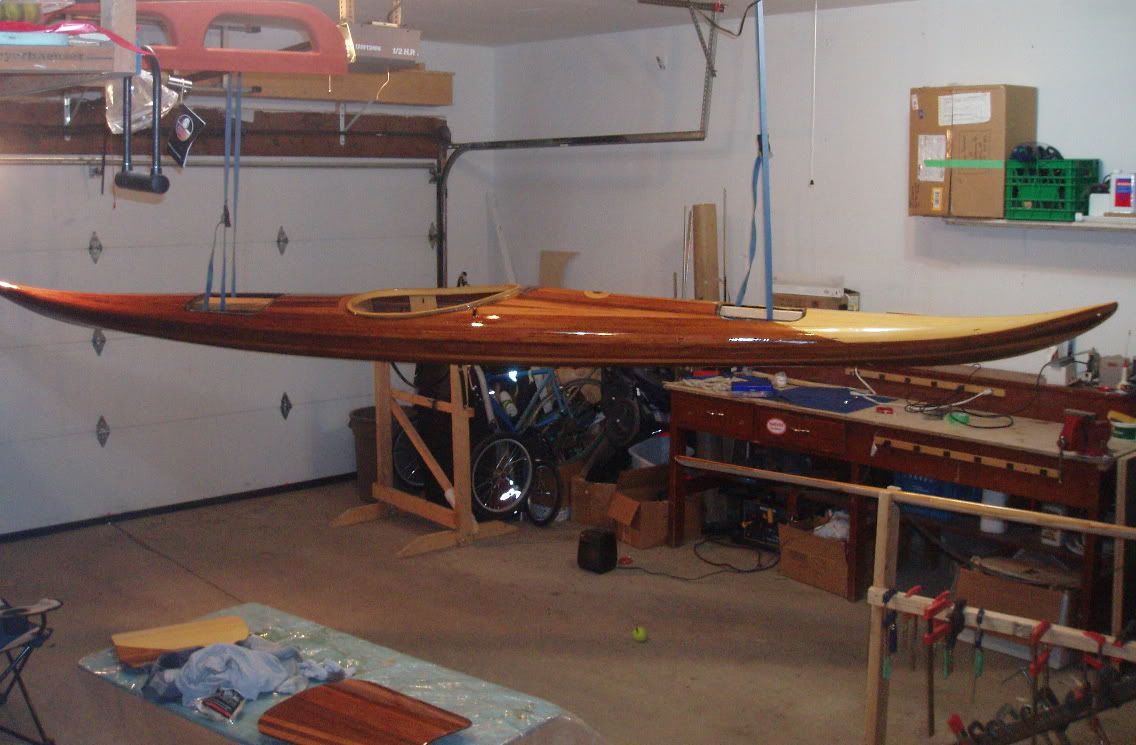
Last night I applied, again with Rob's help, the first coat of varnish. I suspended the kayak from the ceiling so that I would be able to get at all sides, top and bottom at the same time. The whole kayak was lightly wiped with a tack cloth, then varnishing started. I am using the Flagship Spar Varnish purchased through Kisseynew Canoe Company. Once the can was opened, we poured the gallon of varnish out into 3 collapsible bottles (to minimize airspace in the container) with the remainder going into a glass jar. The remaining air in the containers was displaced using Lee Valley Finish Preserve. The varnish was strained through a disposable varnish filter then we began brushing the varnish on using disposable foam brushes. Rob worked on one side while I worked on the other, doing both the deck and hull, maintaining a wet edge as we proceeded from stern to bow down the kayak.

It seems that I put the varnish on heavier than Rob did & my side has the sags and runs to show for it. This morning I reviewed the varnishing instructions in Canoecraft and The Strip Built Sea Kayak. Some tips I have to keep in mind are to NOT go back and attempt to touch up a spot after a few minutes have passed & not to try to put on to heavy a coat.

I'm not too sure about trying to get the underside done at the same time. It's hard to get a good coat underneath and to really see what you are doing. I think for the subsequent coats I'll focus on the deck then once that has dried, flip it over on stands and do the hull. Maybe.

I'll give the boat a couple more hours of drying time then wet sand with 220 grit to take off all the drips, runs, sags, and dust that are in the first coat.

Here are a couple of pictures from this morning.


Now while the varnish dries I'm going to re-read Martin Step's varnishing advice from Green Valley Boat Works.